
Drying Herbs the Right Way
Dehydrating, air-drying, or freeze drying - it actually matters

Keeping Herbs
I’m not saying scientifically created, Western medicines are bad…but thankfully more and more people are realizing starting with the herbs humanity co-evolved with made be a better first choice. Think about it this way, evolution simply states that the organisms best suited for survival in a particular ecosystem or situation will likely be the ones producing the most offspring, thereby passing on the favorable genetic factors. Use of herbal medicines can be seen going back hundreds of thousands of years, predating Homo sapiens and playing a key role in the survival of our ancestors. It doesn’t take much of a leap in logic to realize those who responded best to these medicinal plants and mushrooms likely passed those genes down over and over through their descendants all the way to you. We are designed to use herbs.
As a medicinal chemist, I wanted to understand why they worked and also how to best use them. “Why” is far too big of field for a single Substack article, but “how best” is critical knowledge for any herbalist, but often ignored, leading to inferior results. The biggest misunderstanding is how to properly dry one’s precious herbs to maximize their power. I like the analogy that picking the right drying technique is akin to picking out the proper clothing for the day’s weather. Yes, one could randomly grab an outfit, but you’re likely to end up miserable or at least unhappy with the results. Thankfully, there’s only three basic drying techniques - dehydrating with heat, air-drying with time, or freeze drying with vacuum, so know which to use is easy.
Dehydration
People love to dehydrate herbs because it’s fast and easy. The most basic way is to set your oven between 120F and 180F, lay the herbs in single layers on cookie sheets, and leave them in the oven until they turn brittle. No need for an expensive dehydrator, though I do LOVE my Excalibur, over 20 years old and still going strong!
Pros of dehydrating
Fast (2-4 hours)
Low risk of spoilage
Rarely interferes with daily life
Cons of dehydrating
Heat may drive off or break down flavorful and/or medicinal volatile oils or other compounds
Plant cellular walls remain mostly intact, keeping the good stuff trapped inside them
Best dehydrators can be expensive
When to dehydrate
Use your dehydrator on herbs that will be physically consumed in their entirety. This includes spices/seasonings added to foods or herbs that will be put into capsules. In these situations, your teeth and digestive tract will break apart the majority of intact cell walls, releasing the compounds you seek. Pick a temperature that dries the herbs in about three hours, though highly volatile ones such as mints, rosemary, oregano, or cat nip should be done at lower temperatures, aiming for a drying time of 4-5 hours.
Recommended dehydrators
You oven - it’s already in your kitchen so no extra space is needed
Elite Gourmet EFD319 Food Dehydrator* ($39.99) - 11.4” diameter & 10.75” height, can dry plants and meat
Excalibur Electric Food Dehydrator* ($249.99) - 19”D x 17”W x 12.5”H, can dry plants & meat, make yogurt, proof bread. I do LOVE my Excalibur, over 20 years old and still going strong!
Air-Drying
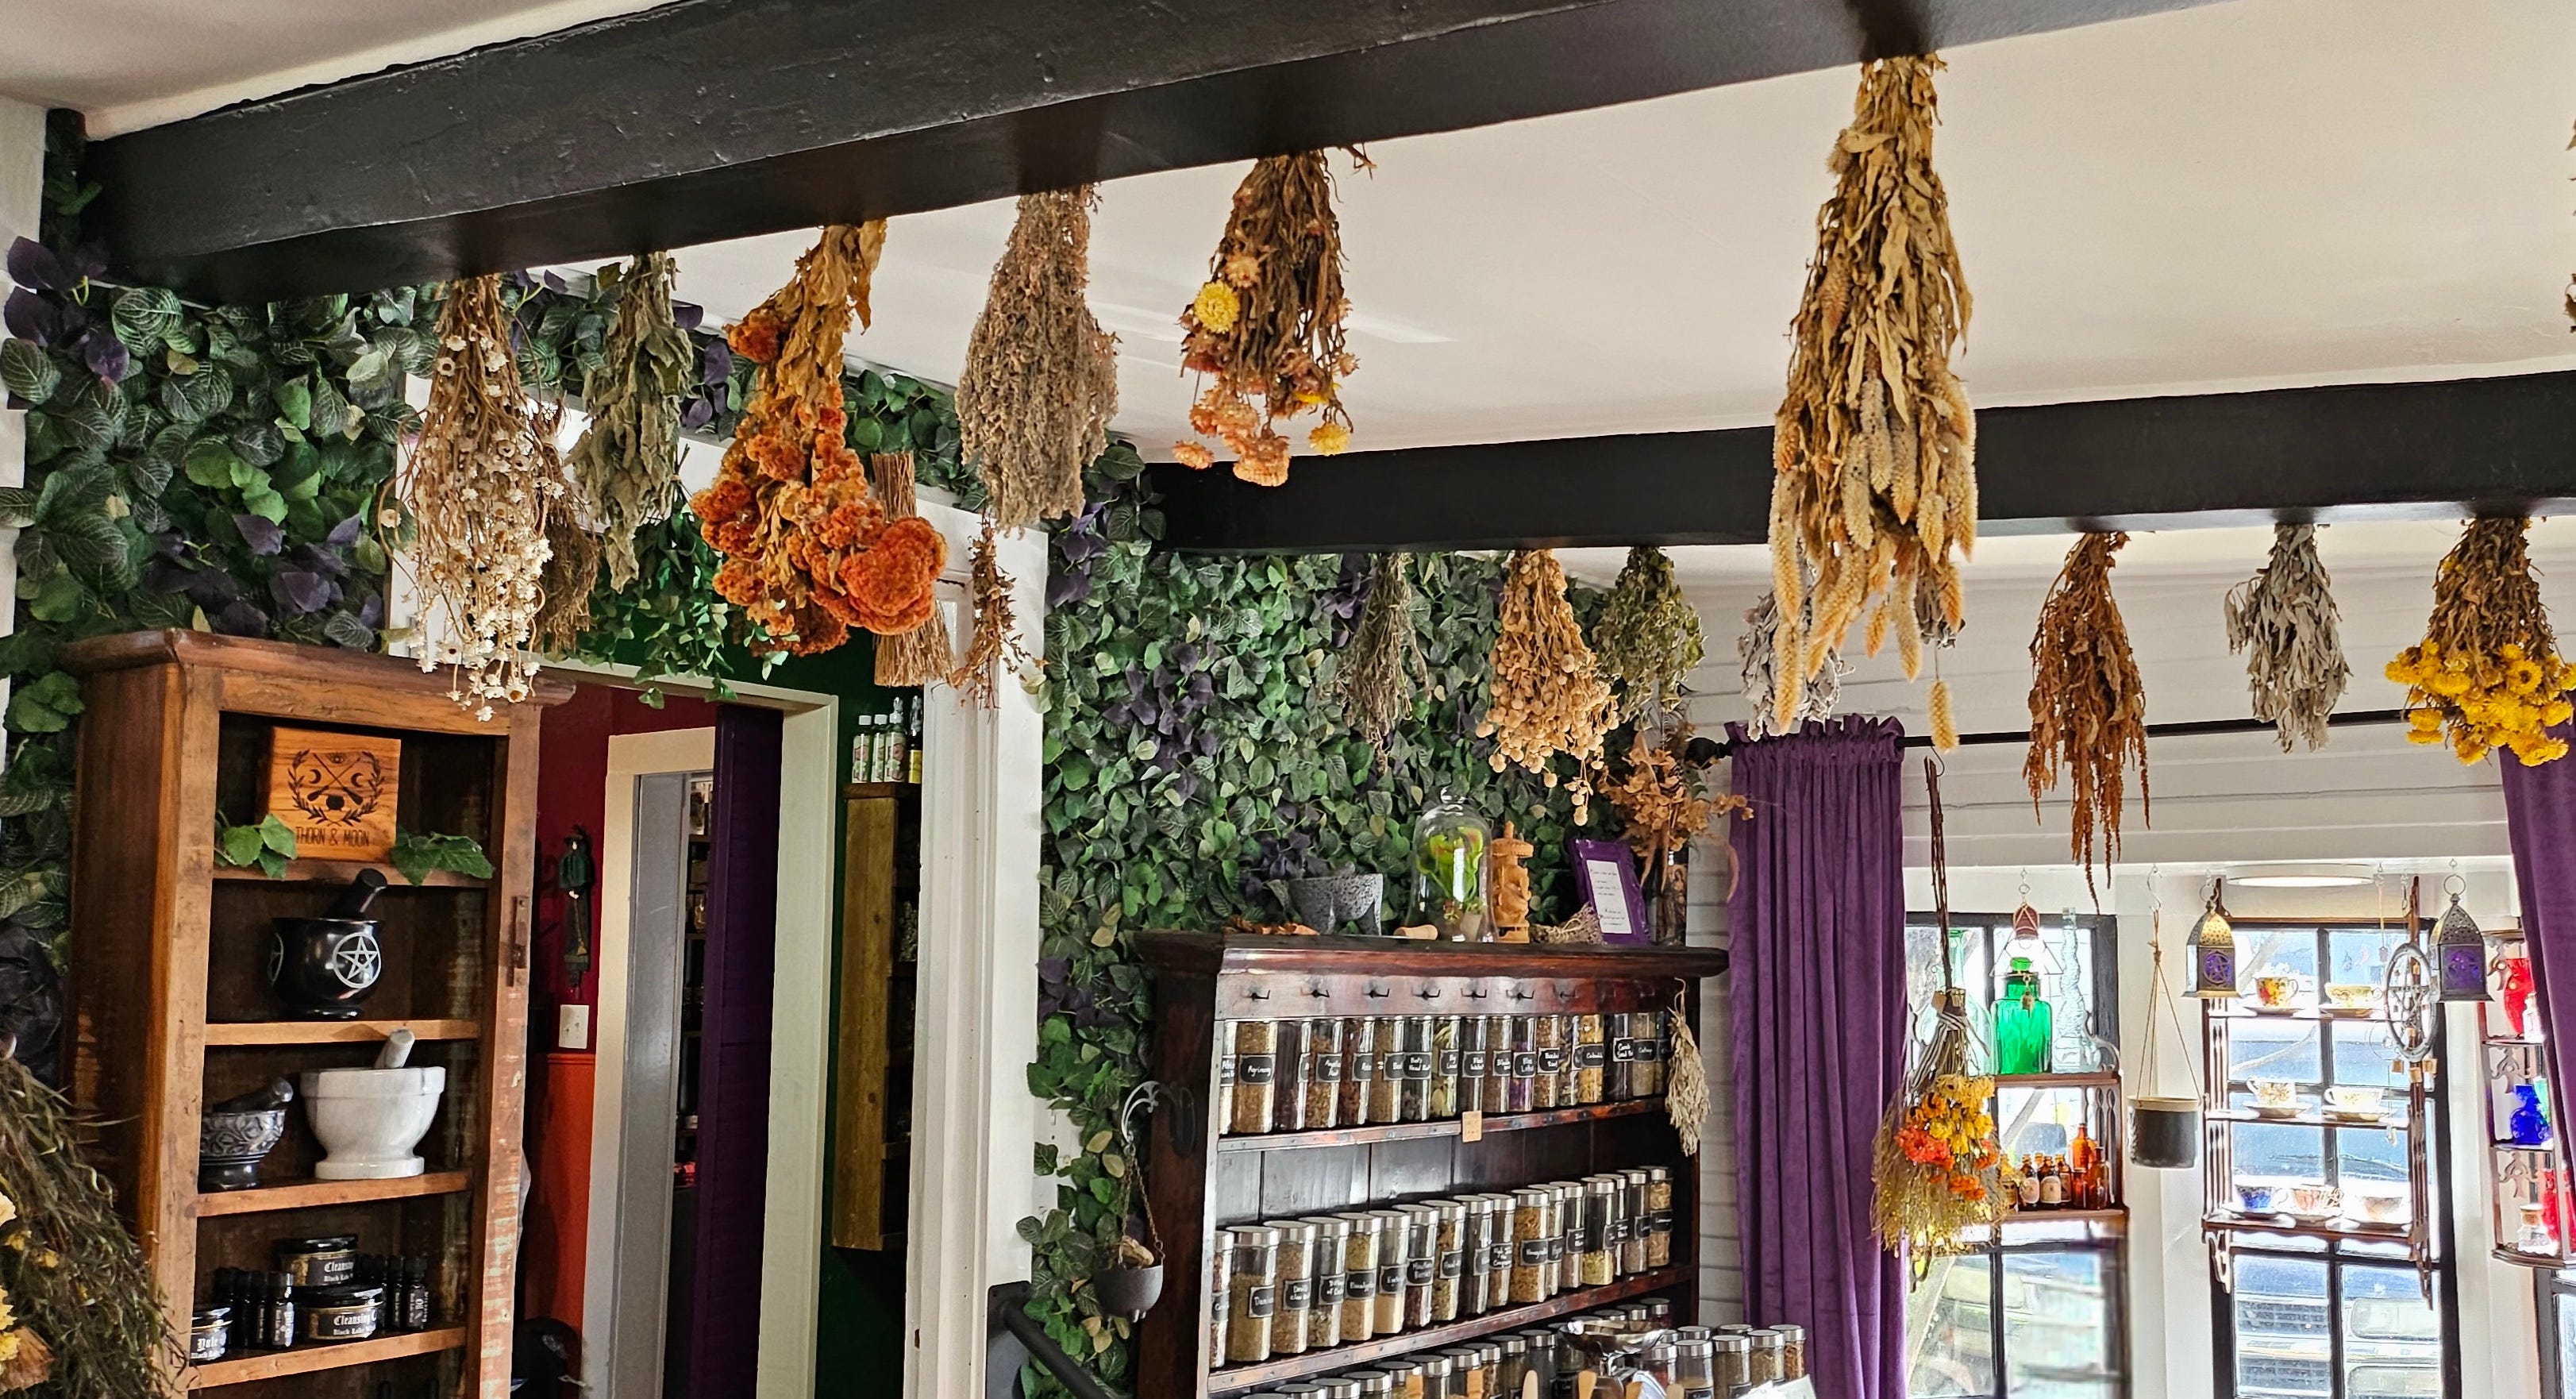
Air-drying is likely the oldest form of preserving herbs. Loose bundles of the entire herb are tied, then hung in a place with good airflow and out of direct sunlight, usually up out of the way near the ceiling. They are left there for several weeks until crisp and well dried. Think cottage-core or a witch’s hut, depending on the type of person you are. ;)
Pros of air-drying
Better breakdown of cellular walls for better release of plant compounds
Generally less loss of volatile oils
Cons of air-drying
Takes up a lot of spaced
Takes 2-4 weeks
Risk of spoilage or mildewing
When to air-dry
If you are going to use the herb to make some sort of infusion (water, tincture, oil, salve) I believe air drying is best. Remember, each plant cell is surrounded by a tough cell wall with only a few openings for stuff to enter/exit. But when a plant “dies”, the last thing it does is trigger several enzymes who’s purpose is to “chew” holes through these cell walls. This process returns the stuff inside the cells back to the soil so that its available to feed other plants. When air-drying, this process goes until there’s enough holes through the cell walls so that all their water can evaporate, which then stops the enzymes from more chewing. The result is akin to plant jerky, but now the goods in each cell have multiple escape routes to enter into the extraction fluid aka menstruum.
Note, the aforementioned enzymatic breakdown of the cell walls is why one first blanches fresh carrots, beans, and other veggies in boiling water for 30-60 seconds before freezing them. If one doesn’t blanch the produce, it’ll turn mushy in the freezer because those enzymes will still slowly be chewing apart the cell walls. The boiling water denatures/destroys the enzymes, thereby maintaining the crispness of the veggies. However, herbalist want the cell walls opened to release the flavors and medicinal compounds trapped within.
Recommended Air Driers
Ball of Butcher’s Twine* ($4.99) - cotton string to tie up and hang herb bundles.
Multi-Layer Herb Drying Hanging Rack* ($17.99) - large, space-filling column of mesh shelves that hangs from ceiling
4-Pack Hanging Herb Drying Rack, Stainless Steel with 30 Hooks *($22.79) - decorative and somewhat compact way to easily hang bundles of herbs
Freeze Drying
Scientists figured out a long time ago that the lower the atmospheric pressure is, the lower temperature needed to evaporate water. In fact, if the pressure is low enough (vacuum), not only will water evaporate but ice will sublimate aka turn directly into its gaseous form without going through its liquid state. Freeze driers take advantage of this process by creating a vacuum around frozen material, drawing out the water in the form of a gas. During the freezing step, the cell walls are punctured by the growing ice crystal. These punctures then act as escape routes for the sublimating water vapor.
Pros of freeze drying
Creates the most escape routes through cell walls, yet retains overall structural integrity
Great preservation of volatile oils and other beneficial plant compounds
Removes the most water in the shortest amount of time
Longest shelf life of dried materials
Cons of freeze driers
Expensive!
Requires mechanical skills to use, maintain, and troubleshoot the equipment
Requires secondary materials such as food-safe vacuum pump oil
Units takes up more space than dehydrators
Recommended Freeze Drier
Harvest Right Home Pro Freeze Drier (Feb. sale price $1,595.00, normally $2495.00) - I don’t have one, but this is the most common model used by everyone I know who does
When to freeze dry
If you’re willing to deal with the space, cost, and maintenance, freeze drying gives the best results in regards to plenty of compound escape routes, not losing good compounds, and extremely long shelf life once dry. The resulting herbs are great for seasoning food, encapsulating, or extracting into a menstruum.
Storage After Drying
As pretty as bundles of dried herbs look, if you can see them you’re doing it wrong. The three killers of herb potency are oxygen (air), heat, and light, so proper storage requires minimizing access of these to the dried plants.
Oxygen - herbs need to be stored in airtight containers so that oxygen can’t react with the herbs. Lids should have some sort of rubber, silicone, or plastic gasket to seal tightly
Heat - store the herbs in an air conditioned location as warmth speeds up the chemical reactions breaking down the plant compounds. 74F and lower is ideal
Light - both sunlight and modern electric lights contain UV and other high energy frequencies that break down plant matter. Amber or smoked glass jars block these damaging rays, preserving the herbs
Recommended Storage Containers
6-Pack 32 oz Wide Mouth Amber Glass Mason Jars* ($31.98) - No BPAs, uses standard, airtight canning lids, blocks light
12-Pack 16 oz Bulk Amber Mason Jars with Lids* ($34.99) - smaller size, still uses standard airtight lid, blocks light
*As an Amazon Influencer, I am required to disclose that I may get a small sales commission from anything purchased through the links I’ve provided.
Upcoming Classes
Feb. 28th, 2026 Plant Walkabout near Wimberley, TX (9am-1pm)
Mar. 7th, 2026 Weed & Feed in Houston, TX (11am-?pm)
Mar. 21st, 2026 Plant Walkabout near Wimberley, TX (8am-12pm)
Mar. 22nd, 2026 Plant Walkabout at the Houston Arboretum (1pm-5pm)
April 16th, 2026 Plant Presentation in San Antonio, TX (Time TBD)
Apr. 25th, 2026 Plant Walkabout near Wimberley, TX (8am-12pm)
May 2nd, 2026 Plant Walkabout in Collin County, TX (9am-1pm)
May 2nd, 2026 Plant Walkabout in Collin County, TX (2pm-5pm)*
May 30th, 2026 Plant Walkabout near Wimberley, TX (8am-12pm)
Supporting Merriwether’s Foraging Texas
In addition to subscribing to this Substack account, click the image below to make a one-time donation via Venmo.

You can also set up a repeating donation via Liberapay by clicking the yellow Donate button below.

Great information. Thanks